DTF Transfer is a cost-effective solution for small to medium-sized prints, allowing you to produce custom products without large minimum orders. This makes it perfect for businesses, entrepreneurs, and individuals who want to create personalized products without spending too much money.
On this Blog, we will guide you to Master dtf printer transfer well Step by Step:
1.Choose the right dtf printer, dtf consumables and others equpments:
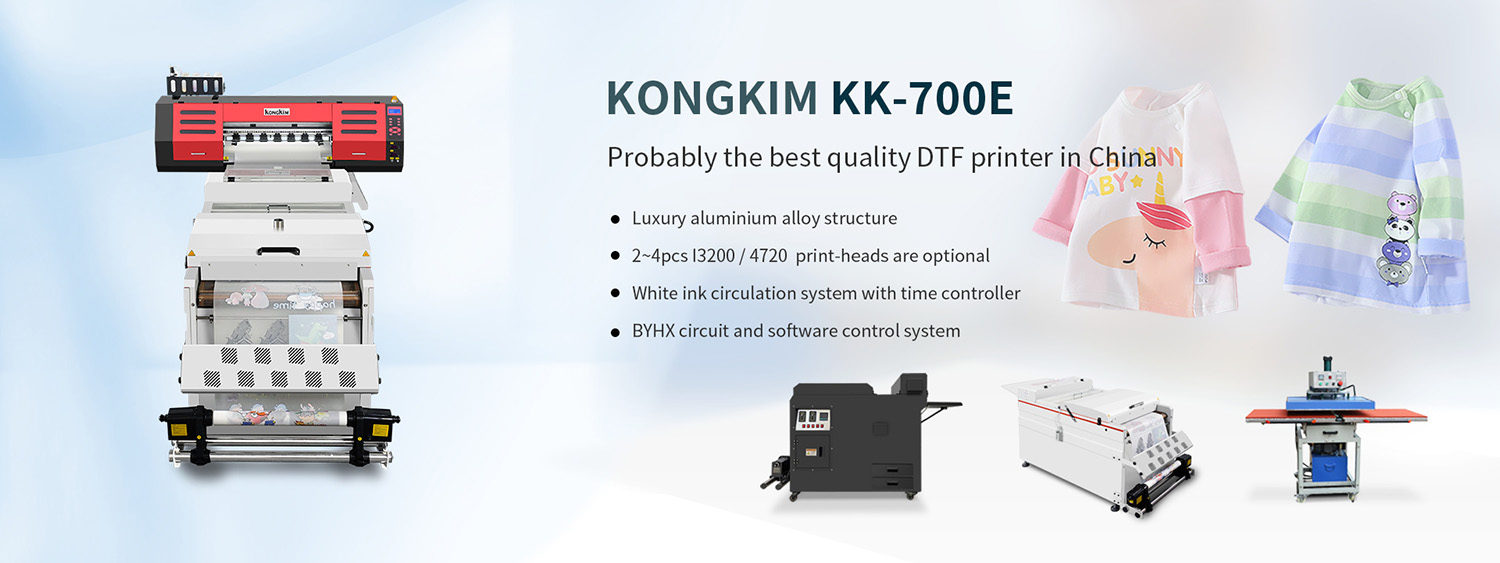
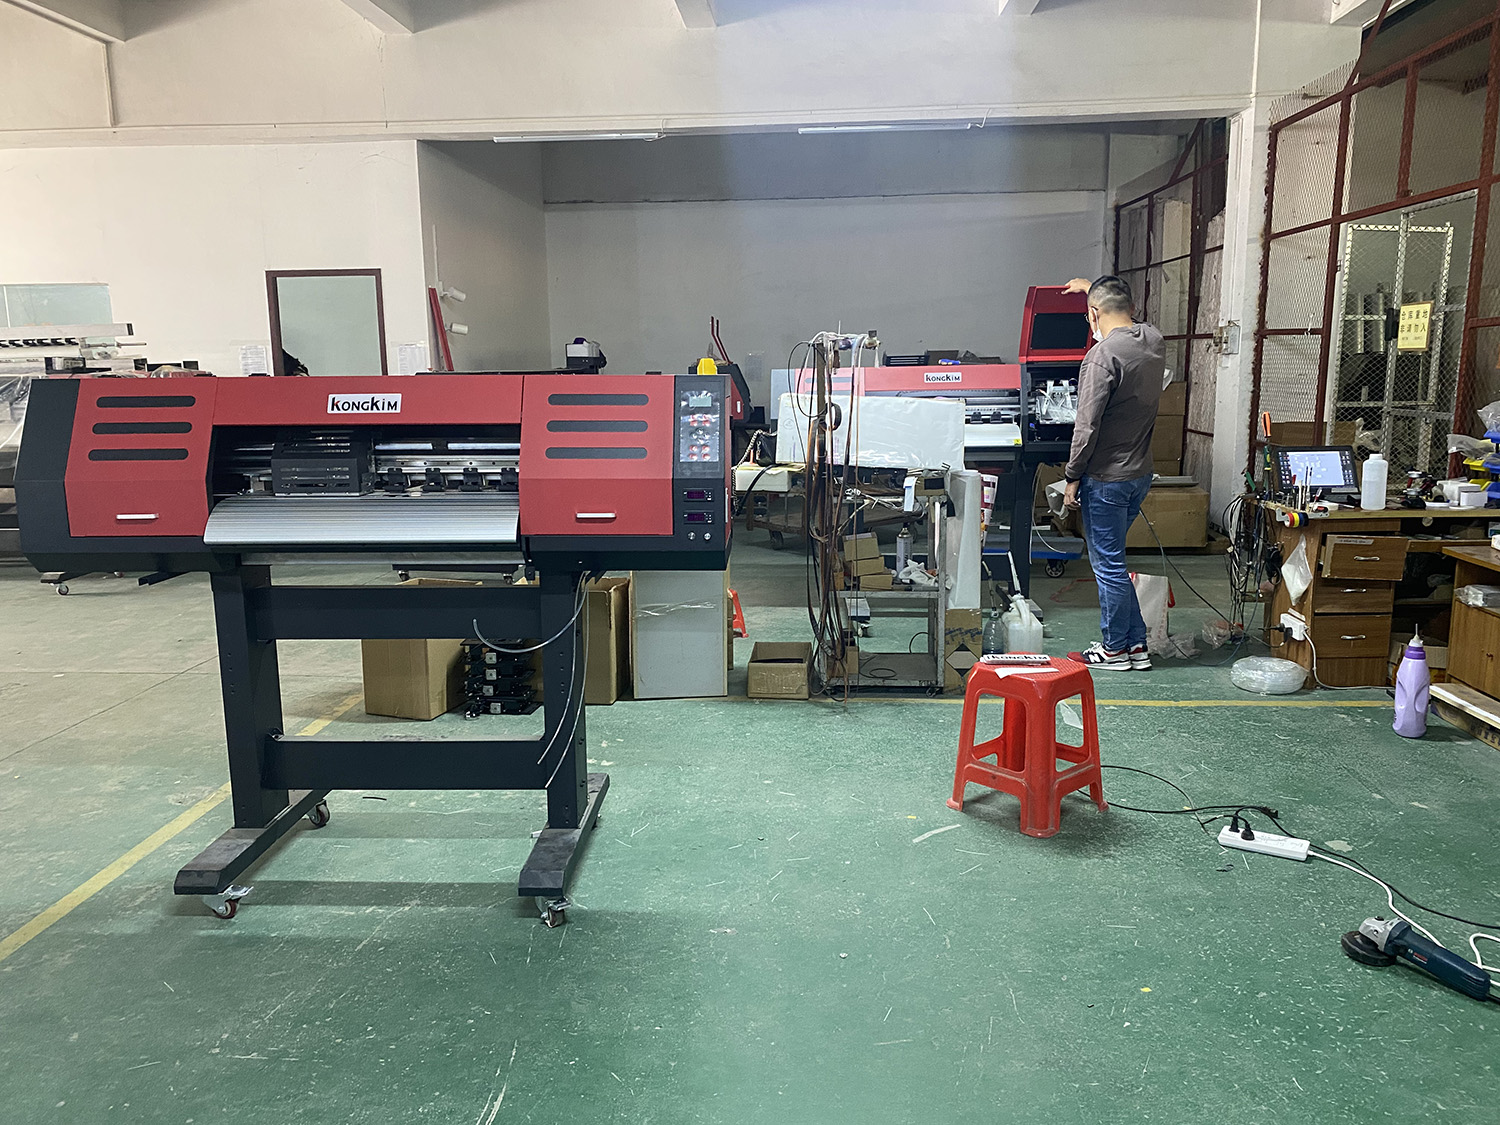
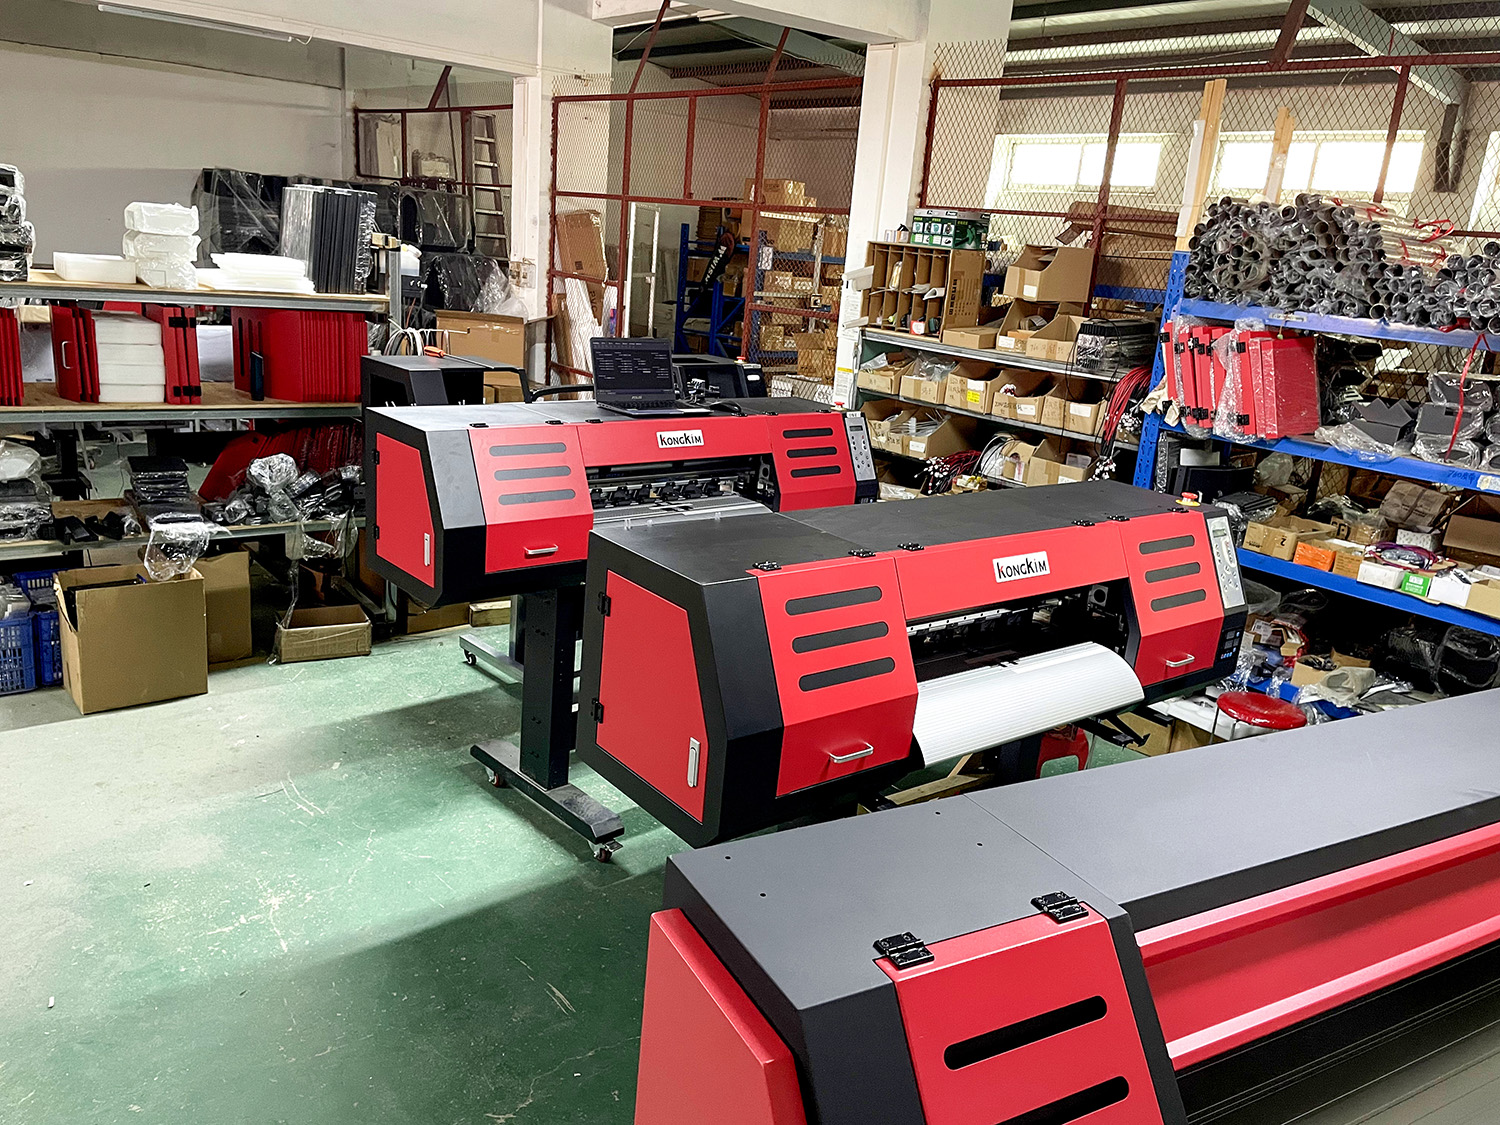
Our Kongkim 30cm & 60cm DTF Printer with powder shaker machine
Manual & auto heat press machine
DTF ink
DTF powder
DTF film
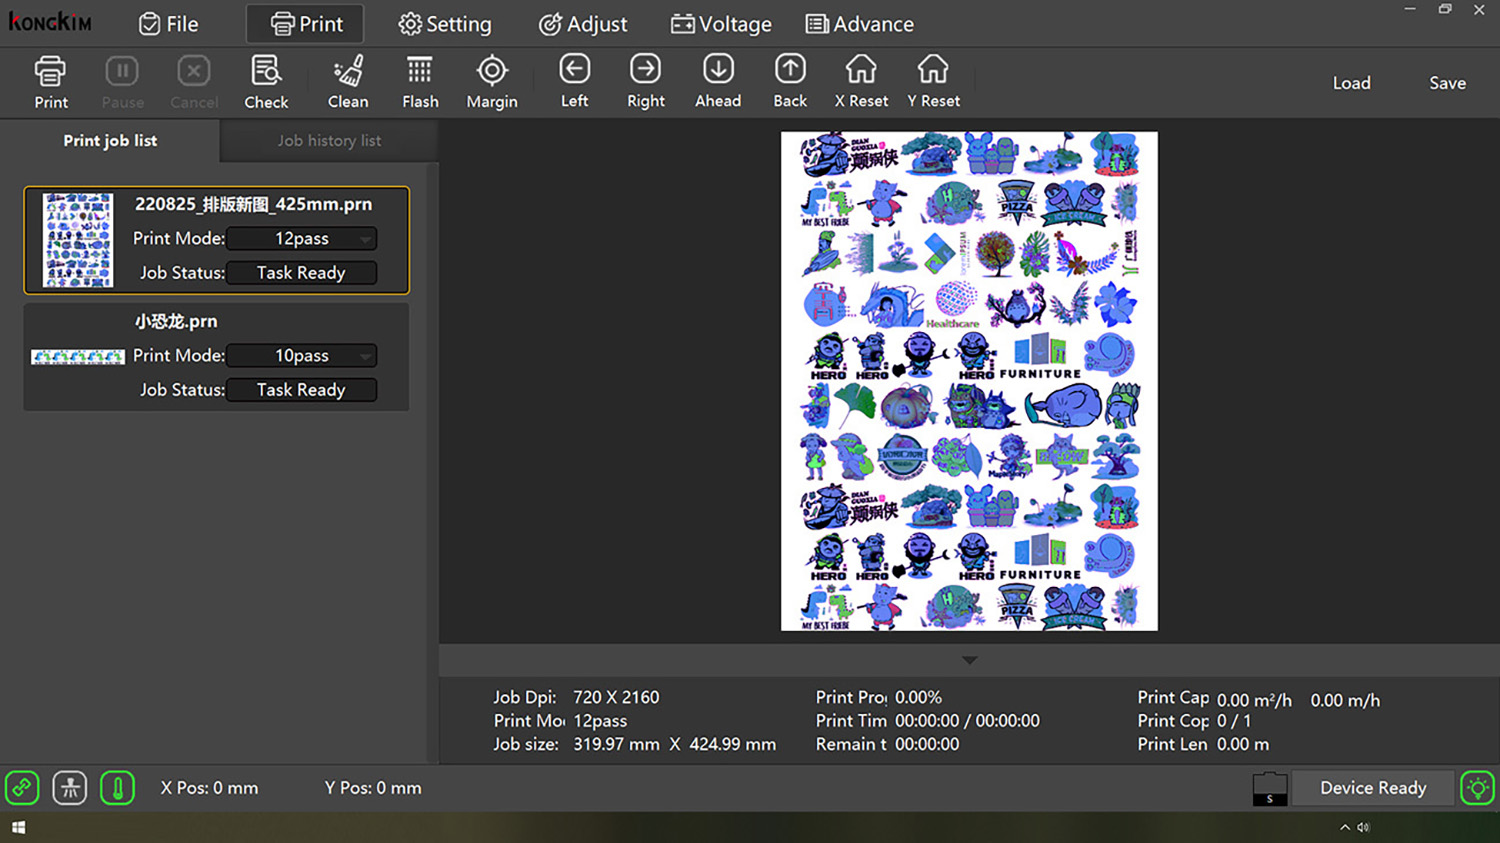
2.Prepare your designs
It is essential to create or select a design suitable for DTF transfers. Utilize your creativity to design unique and captivating images that will leave a lasting impression. Ensure that the design is compatible with DTF printing and DTF film size.
3.Prepare t-shirts or garments
To achieve a flawless DTF transfer, meticulous preparation of the garment is key. Begin by thoroughly cleaning the garment to remove any dirt, dust, or debris that may hinder the adhesion process. Ensure that the garment is pressed and flat, as any creases or folds can negatively impact the final result. Ironing the garment before heat pressing can help create a smooth and even surface that promotes optimal transfer.
4.Printer and powder shaker machine process
Now that your design is ready and the garment is prepared, it’s time to start the DTF printing process. Begin by accurately calibrating the colors to ensure the desired outcome. Adjust the printer settings to match the requirements of DTF transfers. Depending on the printer and transfer paper used, you may need to select a specific print mode to optimize the results. Experimentation is key to finding the perfect settings for your specific combination of printer and transfer paper.
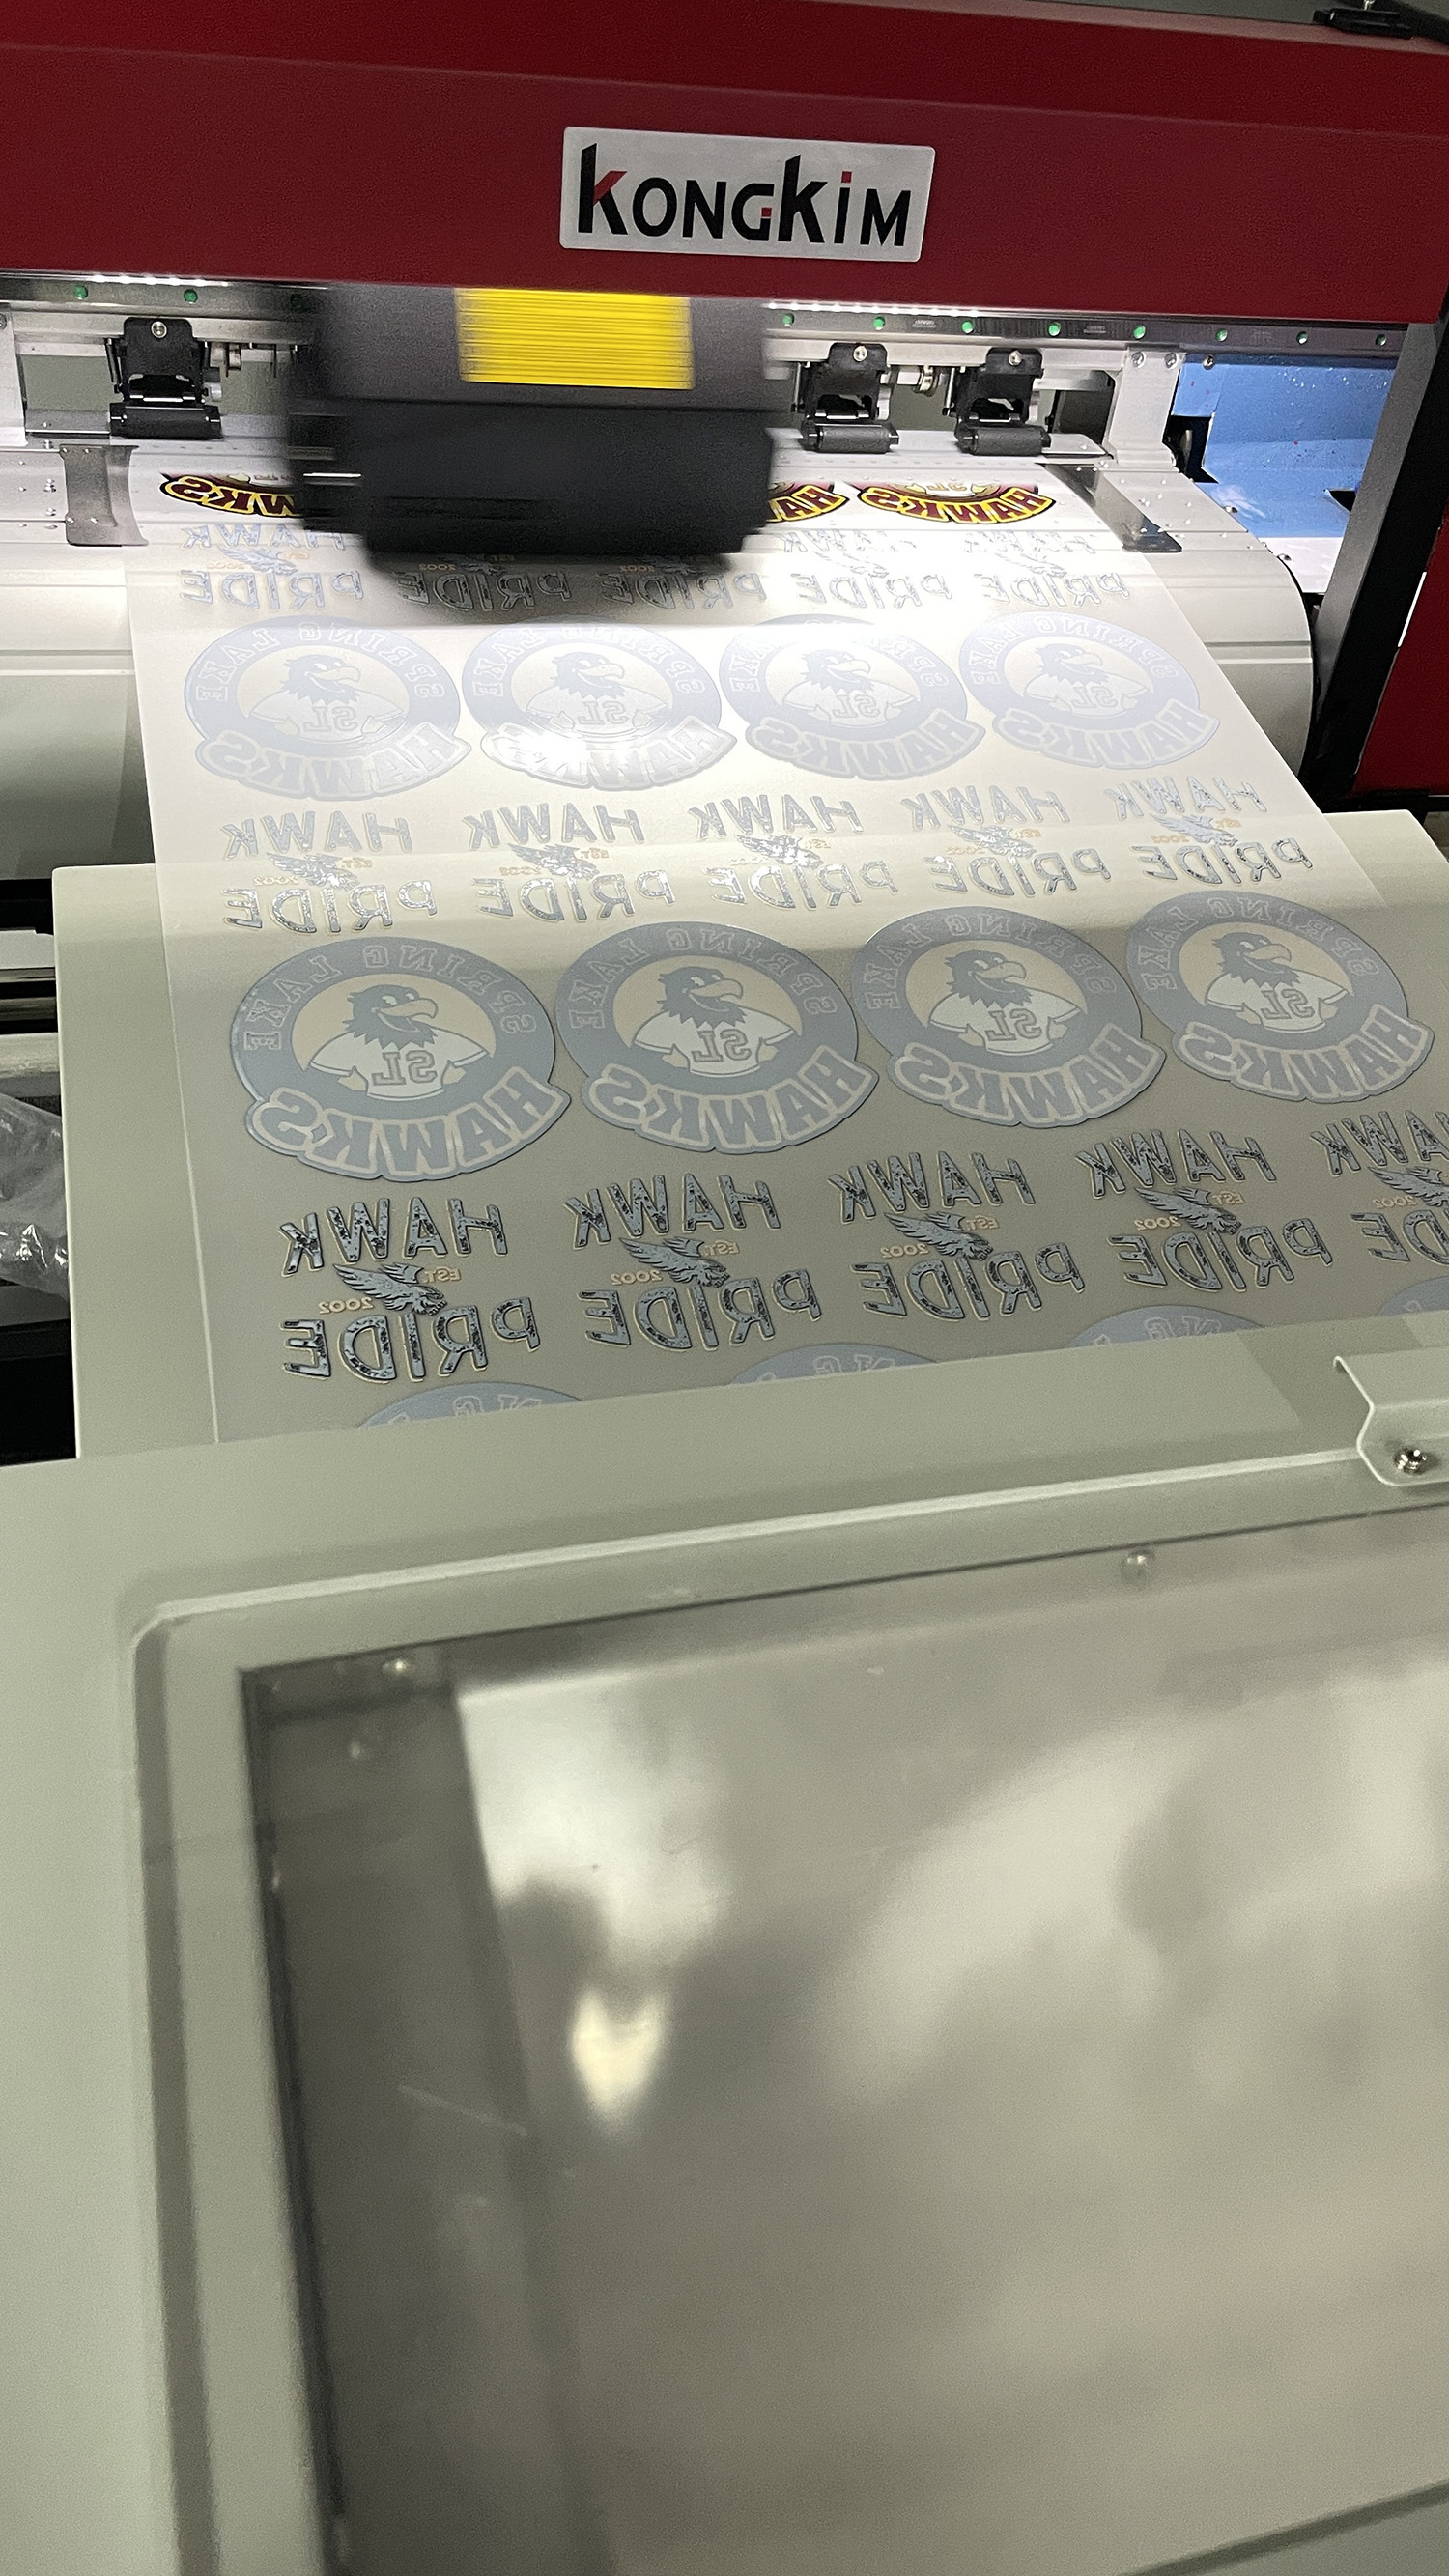
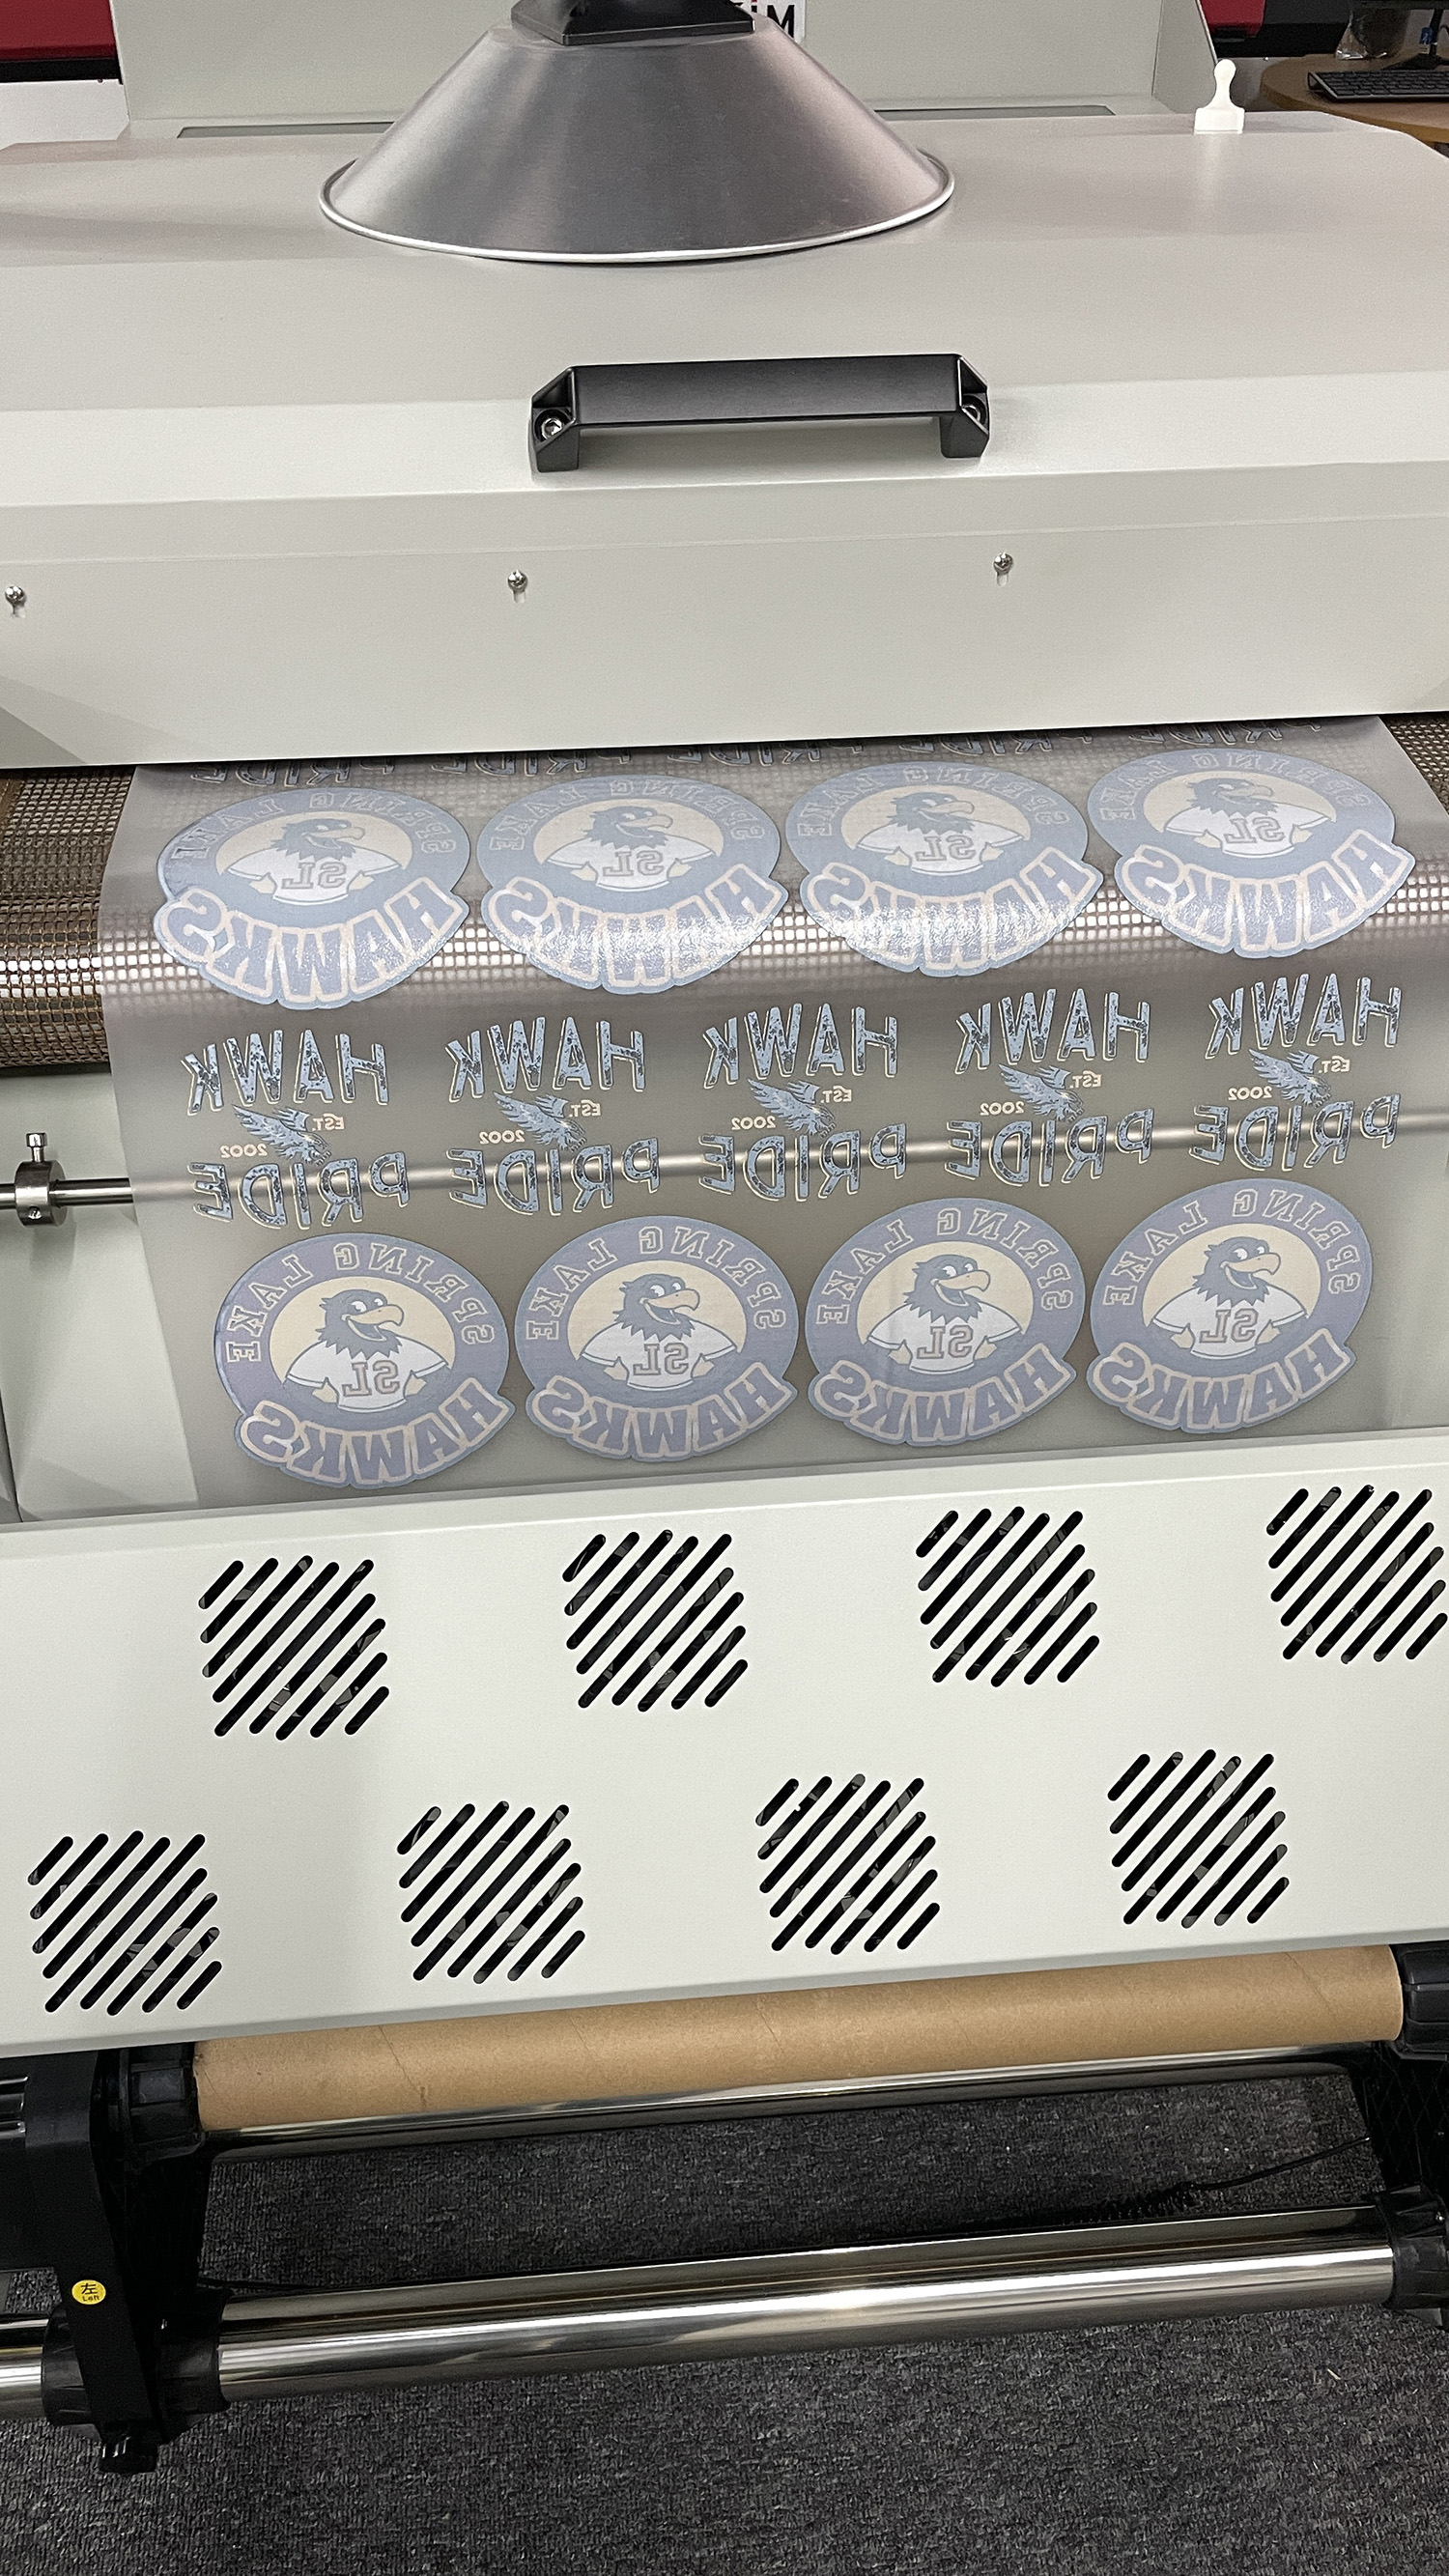
After the DTF transfer is printed, it will process the power shaking & curing process automatically on our Kongkim DTF Printer. This step ensures the longevity and durability of the print. it is imperative to follow our technicians instructions and guidelines to achieve optimum adhesion and lasting quality.
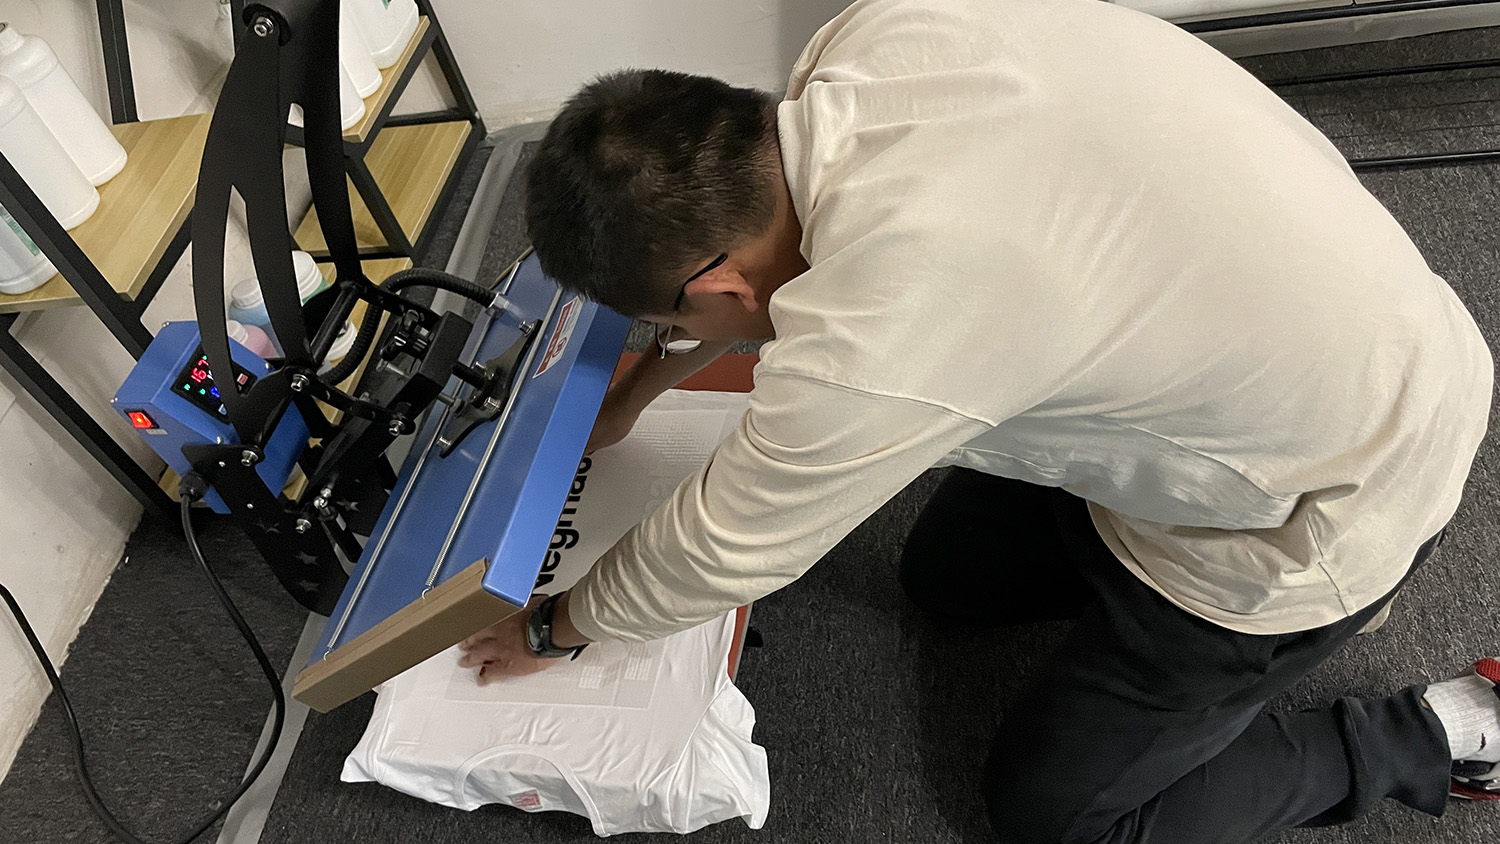
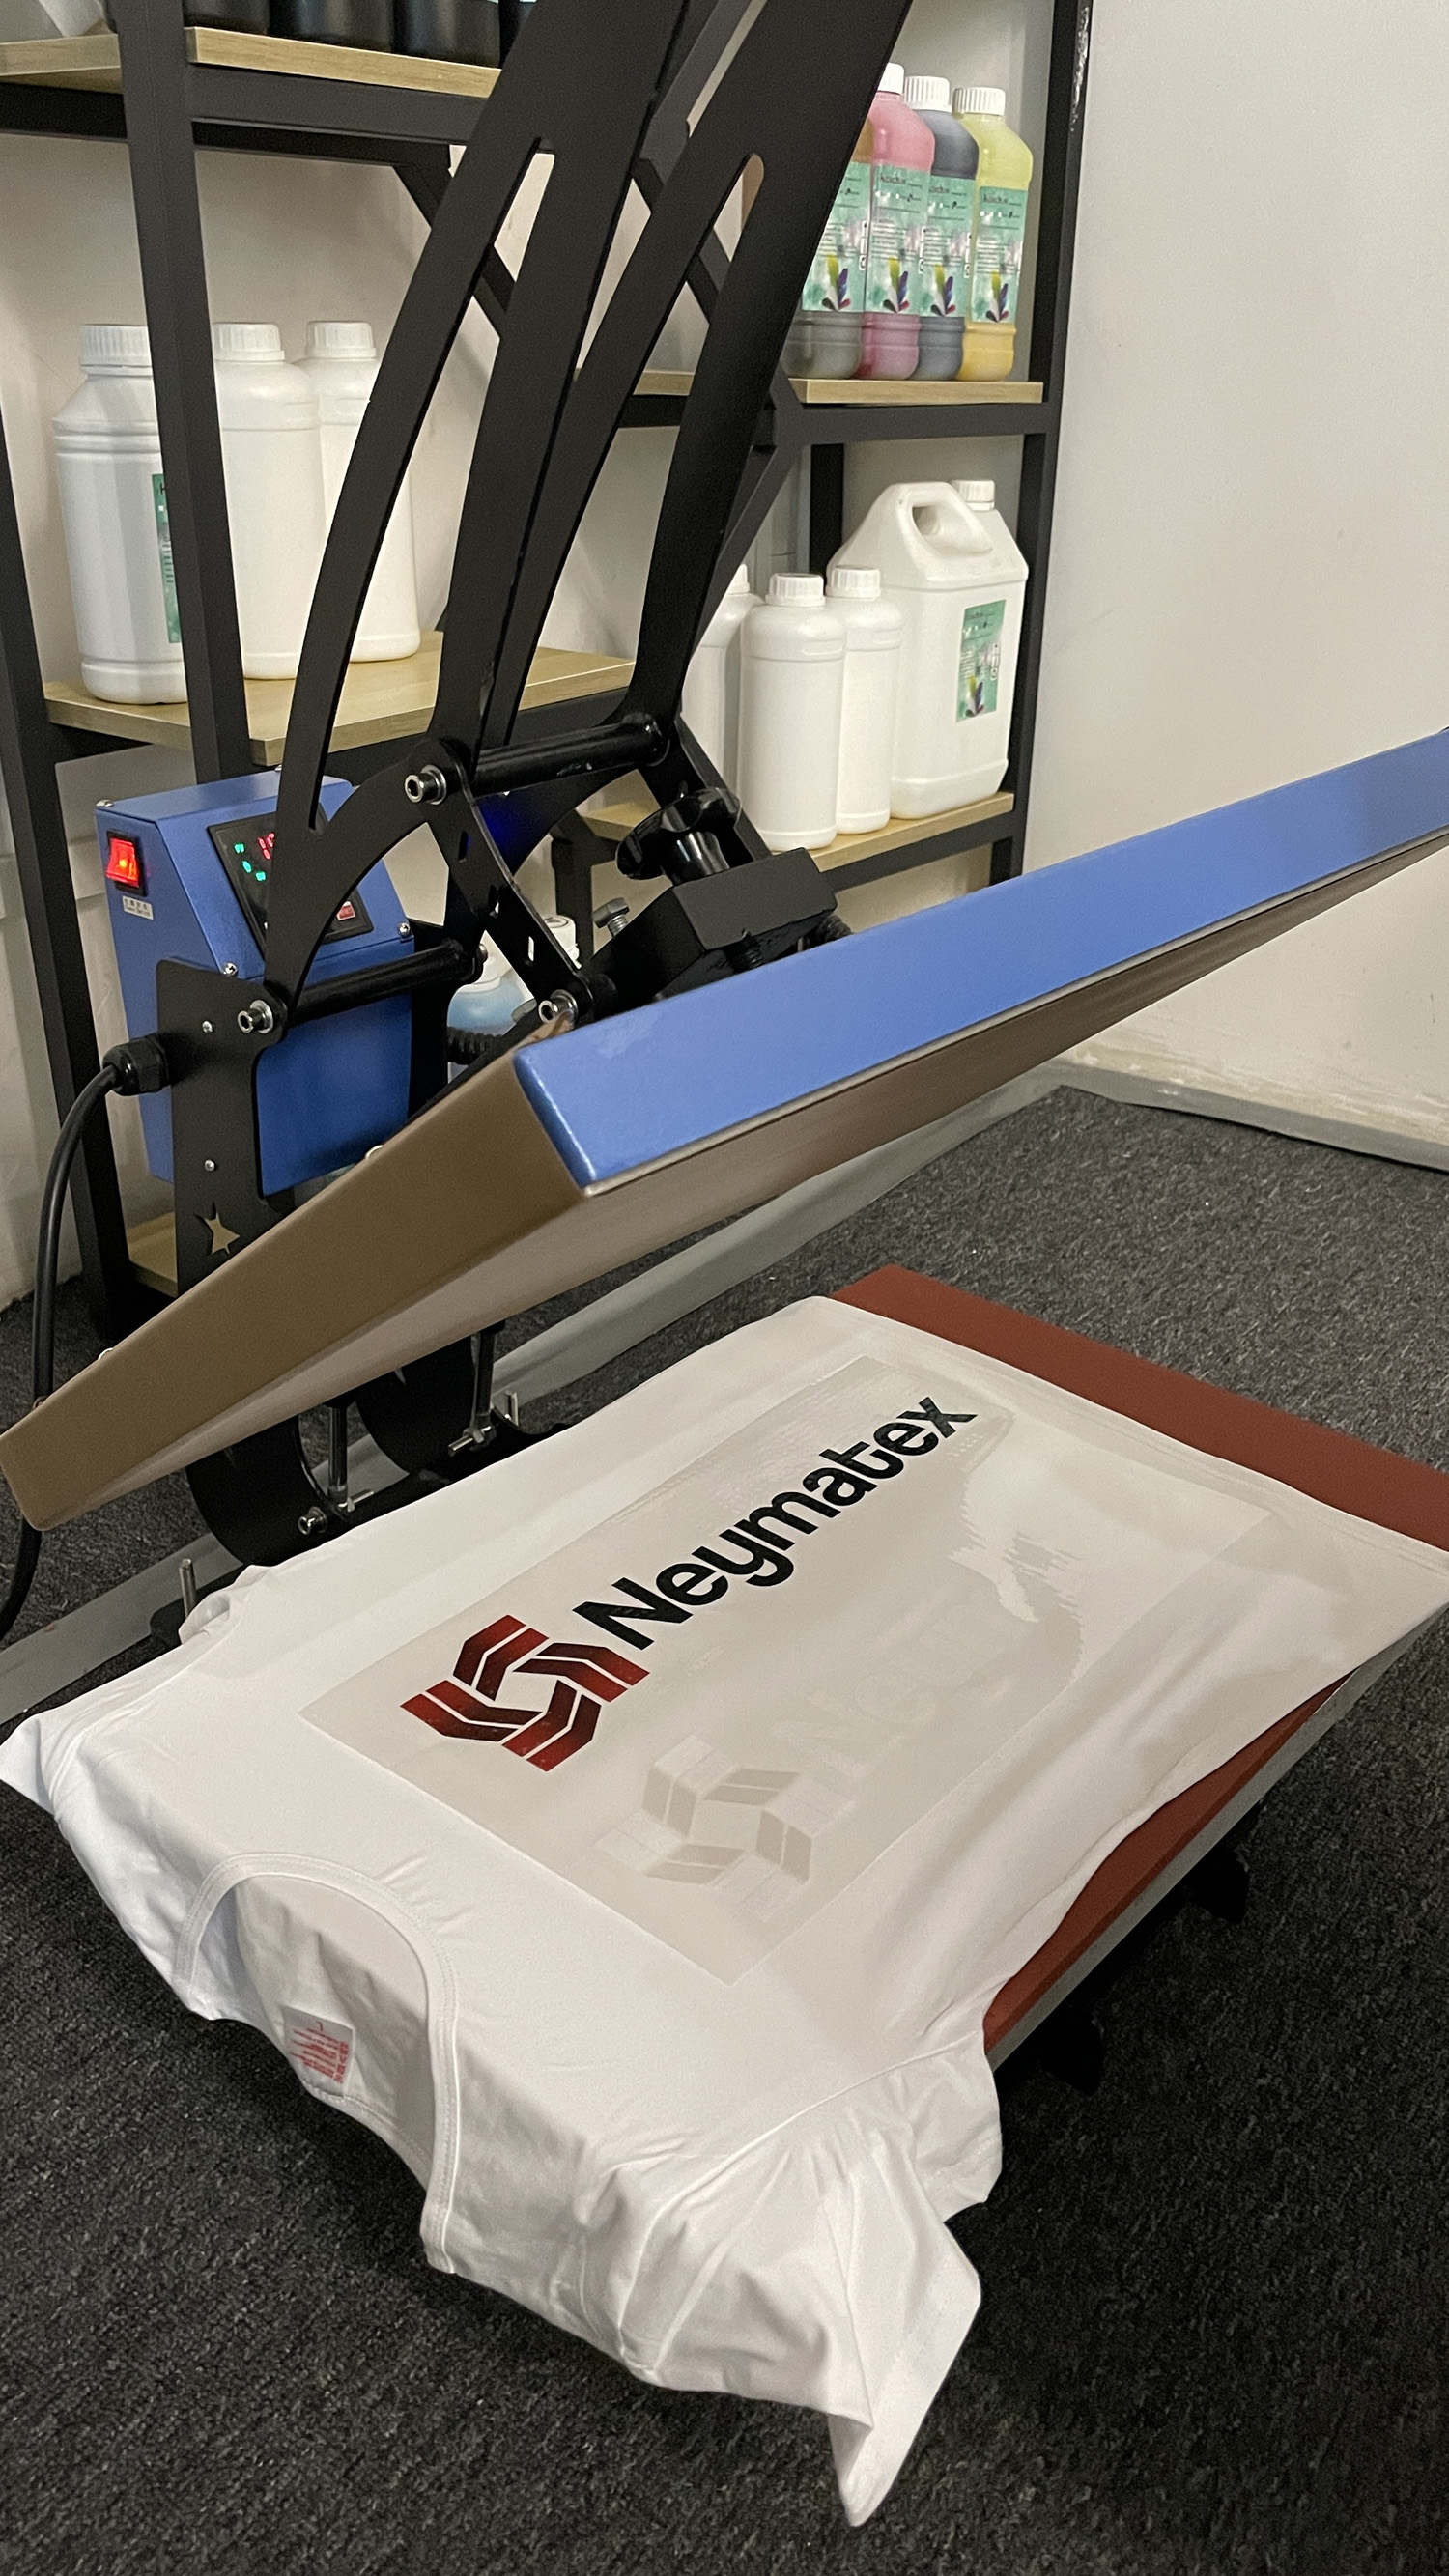
5.Heat Pressing DTF Transfer and Peel / tear transferred film
Place the garment with the printed DTF transfer onto the heat press machine, ensuring that it is positioned correctly. Apply the appropriate temperature, time (normally in 10-15s), and pressure settings. Gently close the heat press, making sure the transfer film is in direct contact with the garment. Allow the machine to complete the pressing process, and carefully remove the transferred garment.
To enhance the appearance and longevity of the DTF printed garment. Please peel or tear off transferred film carefully, ensuring that the transferred designs remains intact!
DTF Transfer is a game changer in printing, delivering unparalleled print quality, durability and versatility. Whether you are a business looking to expand your product range, or an individual (dtf printing for beginners)passionate about custom creations, DTF Transfer provides the tools you need to bring your designs to life in stunning detail. Experience the power of DTF Transfer and take your printing capabilities to the next level! Contact us , let’s to support your printing business with our Kongkim dtf printer and latest printing technology.
Choose Kongkim, Choose better!
Post time: Mar-22-2024


